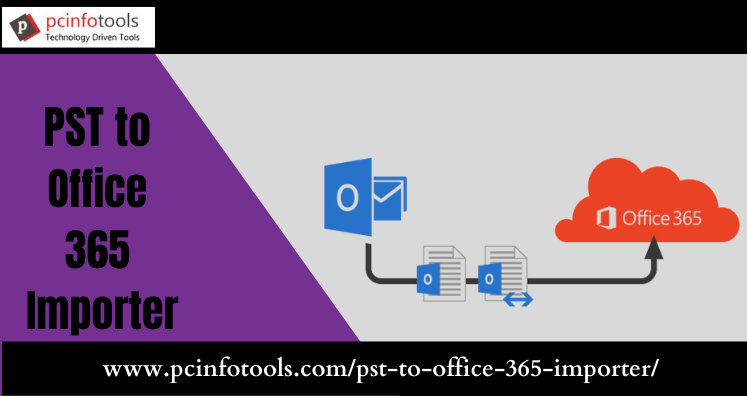
This article offers manual as well as automated solutions to import Outlook emails into Office 365 cloud along with attachments. Users are moving towards Office 365 cloud due to its advanced features and all time data accessibility.
If you are working with Outlook and pleased with exceptional features of Office 365, then your decision for importing Outlook mailbox to Office 365 will be worth performing. To achieve this task, you need to import your Outlook file to Office 365 cloud account. We are here with this post to explain two different ways to accomplish this task.
How Office 365 is Complete Communication Solution For Your Business?
Advanced Security features: Office 365 offers advanced security features by which their data is completely safe and secure. Even if you receive any hidden threat in attachments, you can defend yourself from hidden threats.
Mobile device management: This feature provides option to control Office 365 on your mobile devices. Anyhow, if the device is stolen, you can clean up the data from that stolen device.
Easy to adopt and implement: With Office 365 simplified interface, every user of your organization can easily work with it. You don’t need to train your employees for this.
App included: In Office 365, you will get many apps like Excel, Word, PowerPoint, OneNote, Access, and others.
Accessible at each step: Users having Office 365 can easily access their data from anywhere in the world. Using any device with internet connectivity, users can access their data of Office 365 account.
How to Manually Import Outlook to Office 365 Cloud?
For manual import of Outlook file to Office 365 cloud, you first need to configure Microsoft 365 account in MS Outlook. After that, follow the given steps:
- Click on File tab, click Open & Export and select Import/Export.
- Choose Import from another program in Import & Export wizard and click Next.
- Select Outlook data PST file and click Next.
- Browse for Outlook PST file and click Next.
- Set options to manage duplicate items and click Next.
- Select Import items to same folder and select Microsoft 365 mailbox. Click Finish.
This is how manual solution import Outlook PST file data into Office 365 account. This method seems to be simple but has limitations like chances of data loss, it does not work with large size PST files, etc. But apart from these, Microsoft provides two other methods. Let us also know them.
Network Upload Method to Import Outlook Data to Office 365
It is a free method to import Outlook file data to Office 365 cloud. It allows admins to import entire PST file data to Microsoft 365 using Azure AzCopy tool. But please note that the PST file should be stored on file server or shared folder before import to Microsoft 365. Here are the steps involved in Network upload method –
- Copying SAS URL & installing Azure AzCopy Tool
- Uploading PST file to Microsoft 365
- Creating PST Import mapping file
- Creating PST import job in Microsoft 365
- Filtering data & running PST Import job
This method allows exporting single PST file at a time. For bulk conversion, you have to repeat the process. Thus, the process becomes complex and time-taking for transferring multiple PST files data to cloud destination.
Drive Shipping Method to Import Outlook File to Office 365
This method is also free and allows importing PST data to Outlook 365 that works by using a Secure Storage key and PST Import Tool. Here, you will have to copy your PST file data into hard drive and then ship it to physical locations of Microsoft 365. Steps involved in this method are:
- Downloading the secure storage key and PS Import Tool
- Copying PST data to hard drive
- Creating a PST Import mapping file
- Creating a PST import job in Office 365
- Shipping hard drive to Microsoft
- Filtering data & start import job
The drawback of this method is it may consume 1-2 weeks for importing PST data to Microsoft 365 and every organization can’t for such time period.
Both Network Upload and Drive Shipping methods are technical in nature and users can face difficulties in handling it. Therefore, using a professional PST to Office 365 Importer is the best solution. It offers an easy way to import single as well as multiple PST files directly into Office 365 account.
How to Import Outlook Mailboxes to Office 365 Automatically?
For simplifying the task of importing PST file data into Office 365 account, using a professional solution will be the correct option. Using this smart solution, you don’t even need Outlook installation in the system to upload PST emails, contacts, notes, calendars, and attachments into Office 365 account.
Here Are The Steps to Import Outlook Files to Office 365 –
- Launch professional Outlook to Office 365 Importer Tool on your system.
- Browse and load PST file that you want to import.
- Choose Office 365 account and enter its login details.
- After that, choose folder of Office 365 account to import PST files.
- Hit the Upload Now button.
In a few clicks, you can access PST file through Office 365 cloud account.
Conclusion
Importing emails from Outlook to Office 365 is tricky and lengthy if you pick any manual solutions. To avoid this, users can get automated solution explained in this post. This will make the import task simpler for users with 100% reliability in results.

